Nginx安装配置
Nginx 安装配置
Nginx安装配置
Nginx 安装配置
Nginx 安装
系统平台:CentOS 7.6 x86_64 (64bit)
一、安装编译工具及库文件
1
[root@localhost src]# yum -y install make zlib zlib-devel gcc-c++ libtool  openssl openssl-devel
yum 下载有问题的请切换源
二、首先要安装 PCRE
PCRE 作用是让 Nginx 支持 Rewrite 功能。
1、下载 PCRE 安装包,下载地址: https://downloads.sourceforge.net/project/pcre/pcre/8.45/pcre-8.45.tar.gz
1
2
3
[root@localhost src]# cd /usr/local/src/

[root@localhost src]# wget https://downloads.sourceforge.net/project/pcre/pcre/8.45/pcre-8.45.tar.gz
2、解压安装包:
1
[root@localhost src]# tar zxvf pcre-8.45.tar.gz
3、进入安装包目录
1
[root@localhost src]# cd pcre-8.45
4、编译安装
1
2
3
[root@localhost pcre-8.45]# ./configure

[root@localhost pcre-8.45]# make && make install
5、查看pcre版本
1
[root@localhost pcre-8.45]# pcre-config --version

安装 Nginx
1、下载 Nginx,下载地址:https://nginx.org/en/download.html
1
[root@localhost src]# wget http://nginx.org/download/nginx-1.20.2.tar.gz
2、解压安装包
1
[root@localhost src]# tar zxvf nginx-1.20.2.tar.gz
3、进入安装包目录
1
[root@localhost src]# cd nginx-1.20.2
4、编译安装
1
[root@localhost nginx-1.20.2]# ./configure --prefix=/usr/local/webserver/nginx --with-http_stub_status_module --with-http_ssl_module --with-pcre=/usr/local/src/pcre-8.45
1
[root@localhost nginx-1.20.2]# make && make install
5、查看nginx版本
1
[root@localhost nginx-1.20.2]# /usr/local/webserver/nginx/sbin/nginx -v

到此,nginx安装完成。
设置软链接
1
2
ln -s /usr/local/webserver/nginx/sbin/nginx /usr/bin/nginx
ln -s /usr/local/webserver/nginx/conf/ /etc/nginx
Nginx 配置
创建 Nginx 运行使用的用户 www:
1
...
配置nginx.conf
1
[root@localhost html]# vi /usr/local/webserver/nginx/conf/nginx.conf
1
...
检查配置文件nginx.conf的正确性命令:
1
[root@localhost html]# /usr/local/webserver/nginx/sbin/nginx -t

启动 Nginx
Nginx 启动命令如下:
1
[root@localhost html]# /usr/local/webserver/nginx/sbin/nginx
访问站点
从浏览器访问我们配置的站点ip:
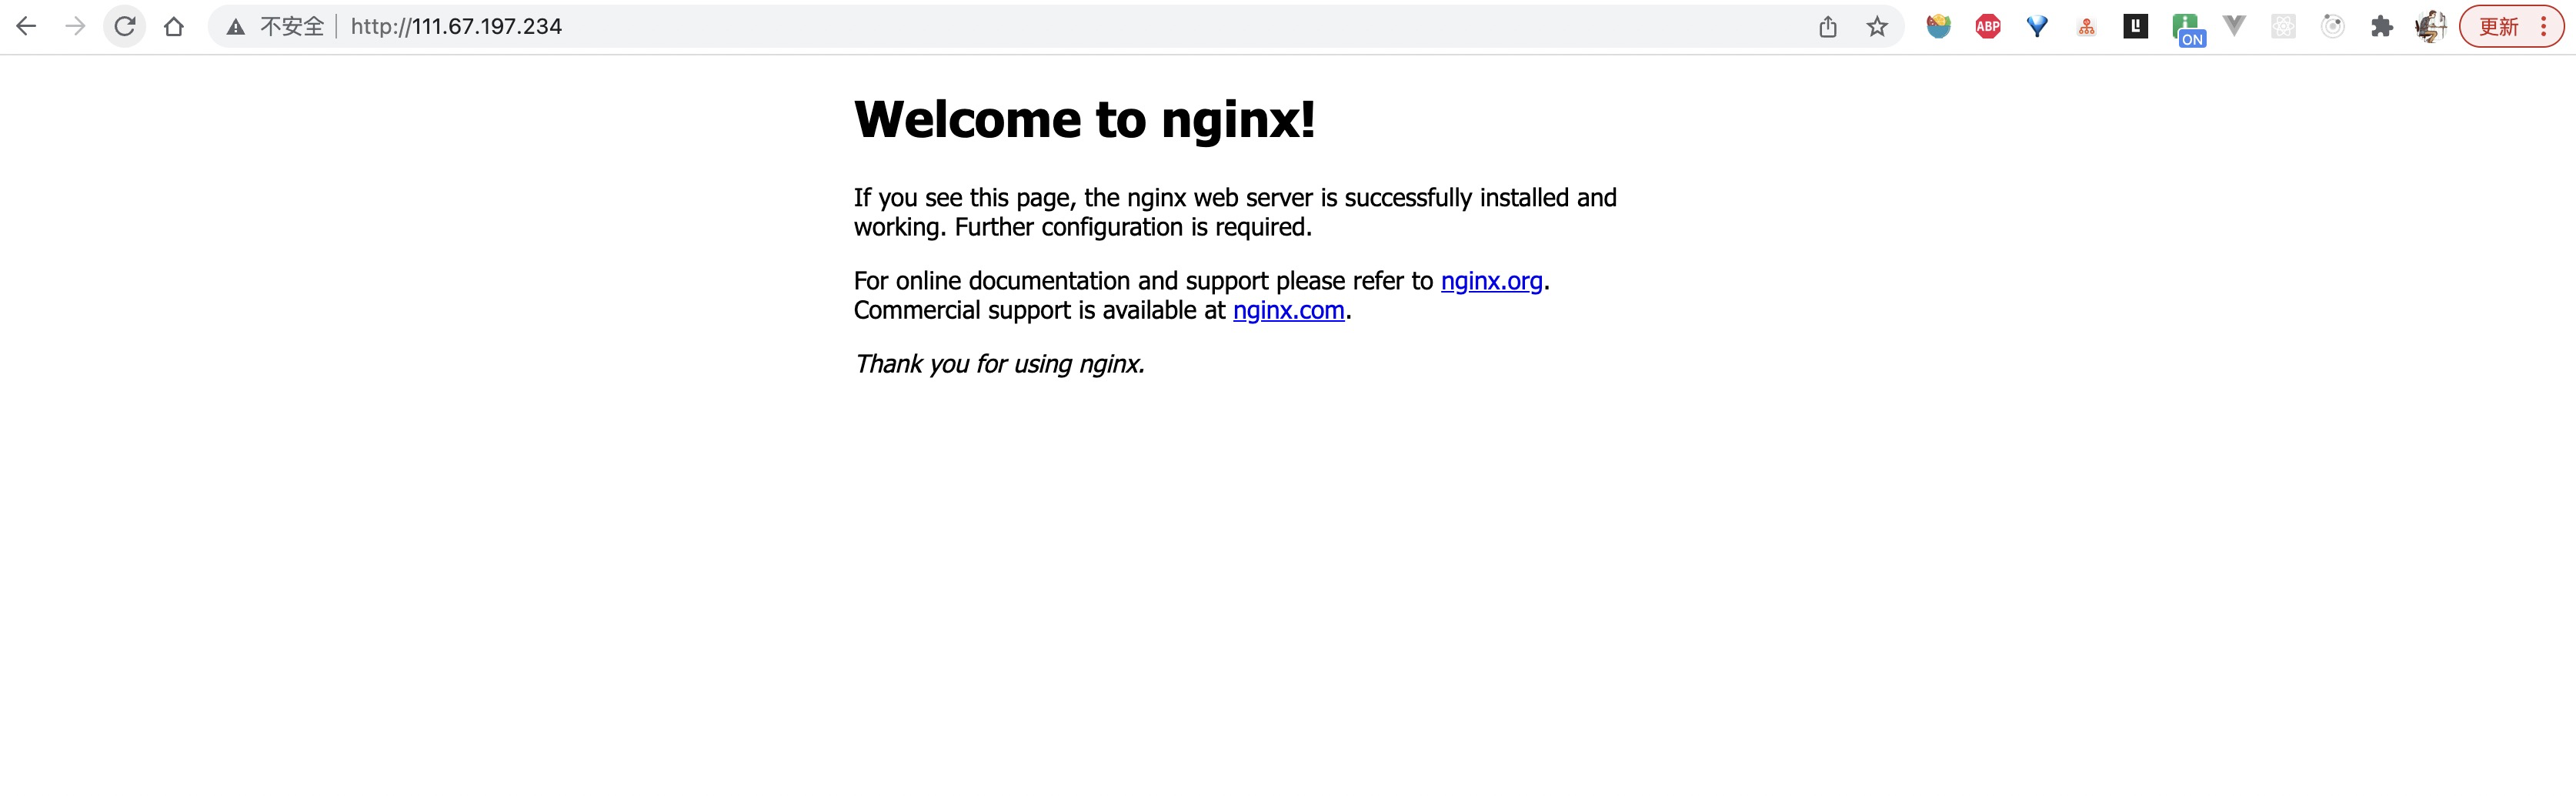
注意:要放开80端口哦
Nginx 其他命令
以下包含了 Nginx 常用的几个命令:
1
2
3
/usr/local/webserver/nginx/sbin/nginx -s reload    # 重新载入配置文件
/usr/local/webserver/nginx/sbin/nginx -s reopen    # 重启 Nginx
/usr/local/webserver/nginx/sbin/nginx -s stop      # 停止 Nginx
配置单
1
2
3
4
5
6
7
8
9
10
11
12
13
14
15
16
17
18
19
20
21
22
23
24
25
26
27
28
29
30
31
32
33
34
35
36
37
38
39
40
41
42
43
44
45
events {
    worker_connections  1024;
}


http {
    include       mime.types;
    default_type  application/octet-stream;

    server {
        listen       80;
        server_name  hutaoao.cn;
        #将所有HTTP请求通过rewrite指令重定向到HTTPS。
        rewrite ^(.*)$ https://$host$1;
   }

    # HTTPS server

    server {
        listen       443 ssl;

        server_name  hutaoao.cn;

        ssl_certificate      cert/9715796_hutaoao.cn.pem;
        ssl_certificate_key  cert/9715796_hutaoao.cn.key;

        ssl_session_cache    shared:SSL:1m;
        ssl_session_timeout  5m;

        ssl_ciphers  HIGH:!aNULL:!MD5;
        ssl_prefer_server_ciphers  on;

        location / {
            root   /opt/web-build;
            index  index.html index.htm;
            try_files $uri $uri/ /index.html; #404页面转发
        }

        #代理后台接口
        #匹配到 /api 开头的接口时,转发到下面的服务器地址
        location /api {
            proxy_pass http://111.67.196.29:7001; #转发请求的地址
        }
    }
}
本文由作者按照 CC BY 4.0 进行授权